
You’ve just completed a gorgeous kitchen remodel or a custom master bath tiling project. It looks immaculate. But as you admire the clean grout lines and pristine finishes, a lingering question pops up: Do I actually need tile sealing?
It is easy to view sealer as an unnecessary upsell or a tedious extra step in DIY projects. However, skipping this vital protective phase can lead to irreversible staining, deep mold growth, and premature failure of your beautiful surfaces.
In this comprehensive guide, we will unpack the science behind tile sealing, separate the myths from reality, and help you determine exactly which materials in your home require protection. From understanding porcelain tile sealing to mastering the art of grout sealing, here is what you need to know to protect your investment.
The Core Concept: What is Tile Sealing?
At its core, tile sealing is the process of applying a liquid barrier—either a penetrating sealer or a topical tile sealer—to a tiled surface and its surrounding grout joints. This protective treatment acts as an invisible shield against water, oils, grease, and staining agents.
To understand why sealing is necessary, we must look at how stone and grout behave at a microscopic level. Traditional cement-based grout and many natural stones (like marble, travertine, and slate) are incredibly porous. Think of them like microscopic sponges. When you spill coffee, drop cooking oil, or splash red wine on an unsealed surface, these liquids are instantly sucked into the pores. Once a stain penetrates deep beneath the surface, it bonds with the minerals, making it virtually impossible to clean with surface-level scrubbing.
Penetrating Sealer vs. Topical Sealer: What’s the Difference?
When shopping for a sealer, you will encounter two primary categories:
- Penetrating Sealers (Impregnators): These soak deep into the pores of the tile or grout and chemically bond below the surface. They do not change the look, texture, or slip resistance of your tile. They are highly breathable, making them the gold standard for wet environments like showers.
- Topical Sealers (Coating Sealers): These sit directly on top of the surface, forming a physical film or clear coat. They can add a high gloss or semi-gloss finish. However, they block moisture from escaping from below, which can lead to bubbling and peeling in wet environments like bathrooms.
Why Tile Sealing Matters: The Real Benefits
If you want your tiled surfaces to look as good in ten years as they do today, protective sealing is non-negotiable. Here are the key benefits of incorporating this step into your tile maintenance routine:
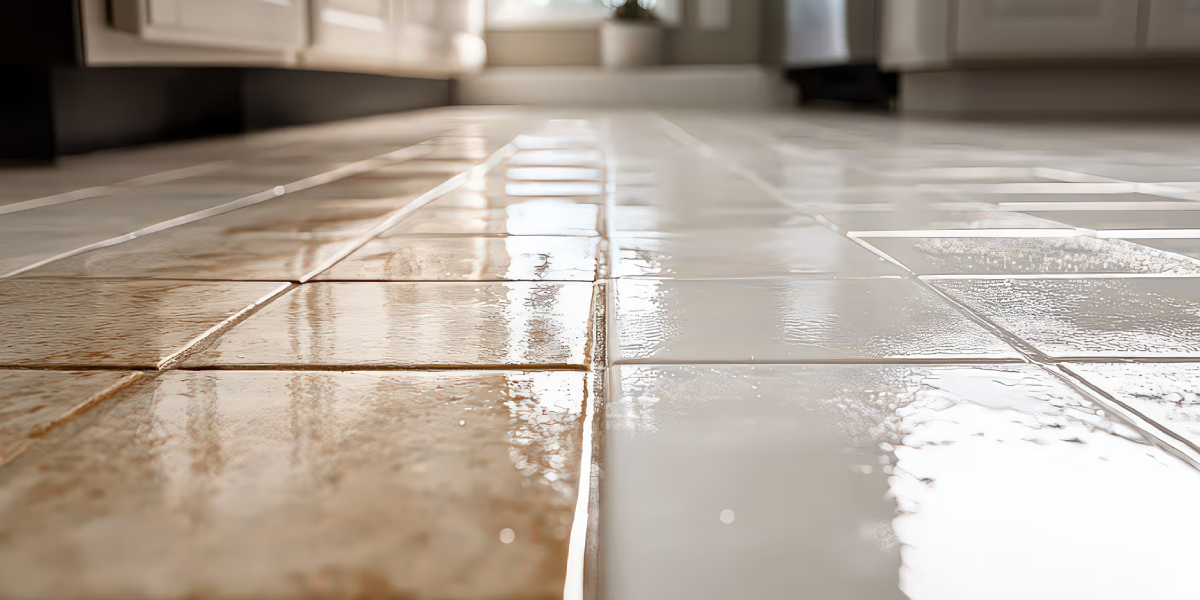
- Unmatched Stain Prevention: A quality sealer keeps spills on the surface, giving you a wider window of time to wipe them away before they soak in and ruin your floor or backsplash.
- Easier Daily Cleaning: Sealed surfaces prevent dirt and grime from binding with the tile or grout, meaning you can ditch harsh scrub brushes for a gentle, pH-neutral cleaner.
- Protection Against Water Damage: Unsealed grout allows moisture to slip behind your tiles, which can slowly rot subfloors, ruin drywall, and compromise your tile’s structural adhesive over time.
- Suppressed Mold and Mildew: In damp spaces like showers, porous grout absorbs water and organic matter (like soap scum and skin cells), creating a breeding ground for black mold. Sealing removes the moisture source that mold needs to thrive.
- Prevents Efflorescence: This is the unsightly white, powdery salt buildup that can rise to the surface of unsealed concrete or natural stone.
Comparing the Two Main Sealer Types
To ensure you choose the right product for your project, consult the comparison table below:
| Feature | Penetrating (Impregnating) Sealer | Topical (Coating) Sealer
|
|---|---|---|
| How It Works | Sinks deep into pores; bonds internally. | Sits on top; forms a protective film. |
| Aesthetic Effect | Leaves a completely natural, matte look. | Adds sheen (matte, satin, or high gloss). |
| Breathability | High; lets internal moisture escape. | Low; can trap moisture underneath. |
| Best Used For | Showers, natural stone, high-traffic floors. | Dry areas, backsplashes, slate, terracotta. |
| Average Lifespan | 3 to 5 years. | 1 to 2 years (wears down in traffic paths). |
A Step-by-Step Guide to Tile and Grout Sealing
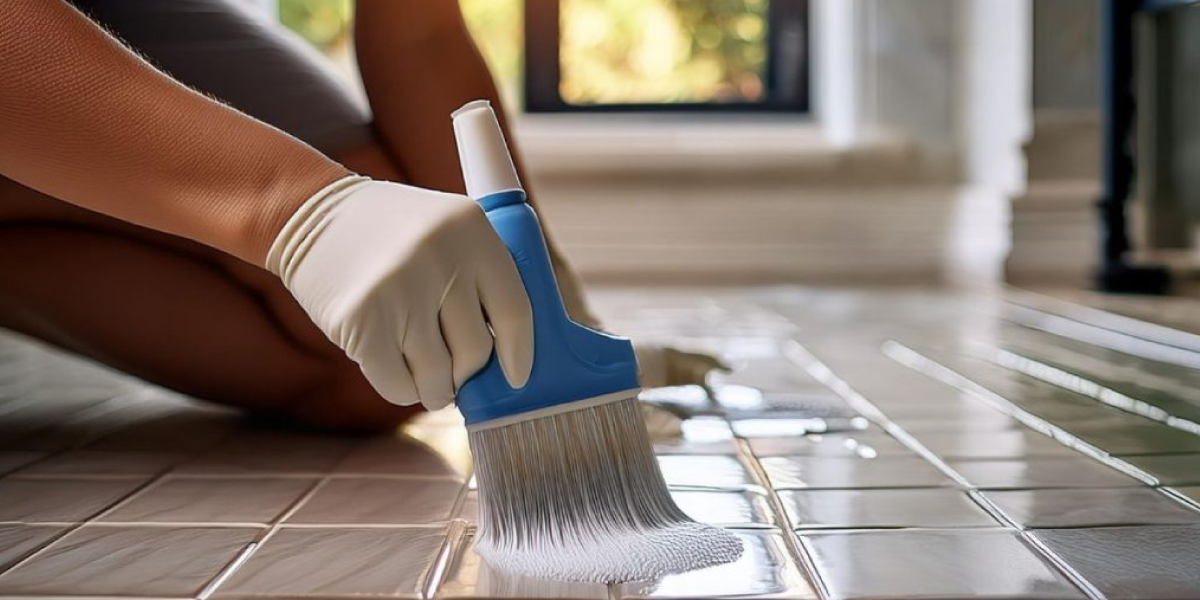
Applying sealer is a highly rewarding DIY project if you follow the correct sequence. Skipping preparation steps is the fastest way to lock in dirt or cause a foggy, sticky mess on your tiles.
- Thoroughly Clean the Area (1-2 Hours)
Deep clean your tile and grout lines using a targeted tile cleaner to strip away grease, soap scum, dust, and old finishes. Scrub the grout lines with a stiff nylon brush. Any dirt left behind will be permanently sealed beneath the barrier. - Allow to Dry Completely (24 Hours)
Moisture is the enemy of a successful seal. If water is still trapped in the grout pores, the sealer cannot absorb properly and will either sit on top or float away. Let the entire area dry for at least 24 hours. - Perform a Test Patch (15 Minutes)
Apply the sealer to a small, hidden tile or corner. This allows you to verify that the sealer doesn’t cause unexpected discoloration or leave an undesirable finish on your specific material. - Apply the Sealer Systematically (Varies by room size)
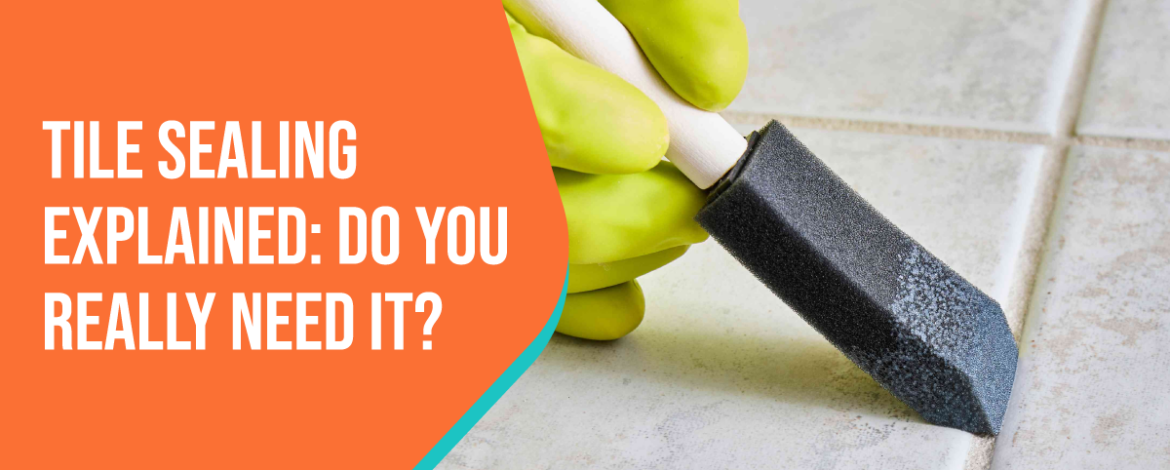
Using a foam roller, paintbrush, or specialized grout sealer bottle, apply a generous, even coat. If you are sealing porous natural stone, coat the entire surface. If you are only sealing grout lines alongside non-porous glazed tile, paint the sealer directly onto the joints. - Wipe Away Excess Product (Strictly within 5-10 minutes)
Allow the sealer to penetrate for 5 to 10 minutes. Crucially, use a clean microfiber cloth to wipe off all excess sealer from the surface of the tiles before it dries completely. Leaving excess sealer on non-porous tile will result in a sticky, hazy residue. - Allow to Cure (24-48 Hours)
Let the first coat dry for the manufacturer’s recommended time (usually 1 to 2 hours) before applying a second coat if the material is highly porous. Once complete, keep all foot traffic off the area for 24 hours and avoid exposing it to water for 48 hours to ensure a full cure.
4 Common Tile Sealing Mistakes to Avoid
- Applying Sealer to Epoxy Grout: Epoxy grout is made of resins and is naturally 100% non-porous. It never needs sealing. If you apply a sealer to epoxy grout, it will pool on top, dry sticky, and turn into an absolute nightmare to remove.
- Locking in Moisture: Rushing the drying process after cleaning is a recipe for failure. Trapping water beneath a sealer will result in cloudy white spots (called moisture entrapment) and will ruin the chemical bond.
- Using Acidic Cleaners Afterwards: Once sealed, you must avoid harsh, acidic bathroom cleaners or vinegar. These acids will rapidly eat away the protective sealer, leaving your grout completely defenseless within months.
- Neglecting Pre-Sealing for Natural Stone: When installing highly porous stones like white marble, you must apply a “pre-grout sealer” before the tiles are even grouted. If you don’t, the dark pigment or cement particles in the grout can seep into the edges of the stone tile during installation, creating a permanent dark outline known as “picture framing”.
Real-World Scenario: The Kitchen Splash Zone
Consider a natural stone marble backsplash installed behind a kitchen cooktop. Without a penetrating sealer, hot cooking oil splattering from a skillet will instantly absorb into the marble’s calcite structure. Within hours, the oil oxidizes, leaving permanent, dark yellow grease circles.
With a properly applied impregnating sealer, however, that same oil remains beaded on top of the stone. The homeowner can easily wipe it clean with a damp cloth and mild dish soap, keeping the kitchen pristine.
Frequently Asked Questions (FAQs)
Do all tiles need sealing?
No, not all tiles need sealing. Standard glazed ceramic and glazed porcelain tiles have an impervious glass-like top layer that naturally blocks water and stains. Only porous materials—such as slate, marble, travertine, limestone, unglazed terracotta, and traditional cement grout—require sealing.
How long does tile sealing last?
In average residential conditions, a high-quality penetrating sealer lasts between 3 to 5 years on floors and backsplashes. However, in wet, high-moisture environments like shower stalls, the sealer degrades faster due to constant water contact and soap exposure, requiring reapplication every 1 to 2 years. Topical sealers generally last only 1 to 2 years.
What are the benefits of sealing grout?
Cement grout is highly porous and acts like a magnet for dirt, mold, and liquids. Grout sealing creates a liquid-repellent barrier that prevents red wine, coffee, and oils from staining the joints. It prevents water from leaking behind your tile wall and significantly slows down the growth of mold and mildew.
Can porcelain tiles be sealed?
Glazed porcelain tiles do not need to be sealed because their surface is entirely non-absorbent. However, unglazed, polished porcelain tiles can feature tiny micro-pores created during the industrial polishing process. These micro-pores can capture dirt, meaning polished, unglazed porcelain does benefit from a specialized, ultra-fine penetrating sealer.
When should new tiles be sealed?
For natural stone, you should apply a temporary sealer before grouting to protect the stone from grout stains. For standard tiles, you must wait until the grout has completely cured—which typically takes 48 to 72 hours after installation—before applying your permanent grout sealer. Check the manufacturer guidelines for both your grout and sealer.
How do I know if my tiles need resealing?
You can easily find out by performing the Water Drop Test. Place a few drops of water onto your tile and grout lines. Wait 5 to 10 minutes. If the water beads up on the surface, your sealer is healthy and working. If the water sinks in and darkens the grout or stone, the barrier has worn away and it is time to reseal.
Conclusion
At the end of the day, tile sealing is the ultimate insurance policy for your home’s hard surfaces. While dense ceramic and porcelain can protect themselves, your cement grout and natural stone rely completely on you to keep water, oils, and stains out. By investing a few hours every couple of years into proper tile maintenance, you will bypass costly restoration bills, save hours of heavy cleaning, and keep your home looking spectacular.
Are you ready to give your home the protection it deserves? Pick up a high-quality, water-based penetrating sealer today, grab a clean sponge, and try the water drop test on your floors this weekend to see where your home stands!

Leave A Comment