

As September sun cuts through the lingering chill of a Melbourne winter, homeowners across the city open up their windows and prepare for annual warm-weather cleaning. While dusting blinds and washing windows are staple chores, nothing refreshes a house quite like deep-cleaning hard floor surfaces. However, after months of damp foot traffic, winter mud, and indoor moisture accumulation, many residents struggle with discolored, grime-laden mortar lines and dull tiles.
Following an expert Spring Clean Checklist for Melbourne Homes: specifically designed for tile and grout care ensures that every room—from high-traffic kitchen corridors to humid shower recesses and sun-bleached outdoor patios receives targeted, surface-safe attention.
This comprehensive guide walks you through the necessity of seasonal hard-surface restoration, common cleaning pitfalls to avoid, room-by-room step-by-step procedures, surface compatibility guidelines, and expert tips to ensure your home shines throughout spring and summer.
Quick Answer
What Is a Spring Cleaning Checklist for Melbourne Tile & Grout?
A tile and grout spring cleaning checklist is a room-by-room maintenance workflow designed to remove winter soil buildup, dissolve mineral deposits, eliminate bathroom mold spores, and re-apply protective sealers across hard floor and wall surfaces in Melbourne homes.
Quick Step-by-Step Summary: How to Deep Clean Tiles and Grout
- Dry Debris Extraction: Sweep or vacuum floor surfaces thoroughly using a hard-floor soft-brush nozzle to remove abrasive grit.
- Apply Targeted Solution: Spray an alkaline tile cleaner for kitchen grease/organic dirt or a pH-neutral cleaner for natural stone tiles.
- Dwell and Agitate: Allow 10–15 minutes dwell time, then scrub grout lines with an angled, stiff-nylon grout brush.
- Extract Slurry Immediately: Mop or wet-vacuum dirty liquid to prevent soil from re-settling into porous grout capillaries.
- Rinse with Clean Water: Flush the surface with clean warm water to eliminate chemical residues.
- Seal and Protect: Apply a penetrating (impregnating) sealer once grout is completely dry (24–48 hours) to maintain long-term cleanliness.
Why Seasonal Tile & Grout Maintenance Matters in Melbourne
The Impact of Melbourne’s Climate on Hard Surfaces
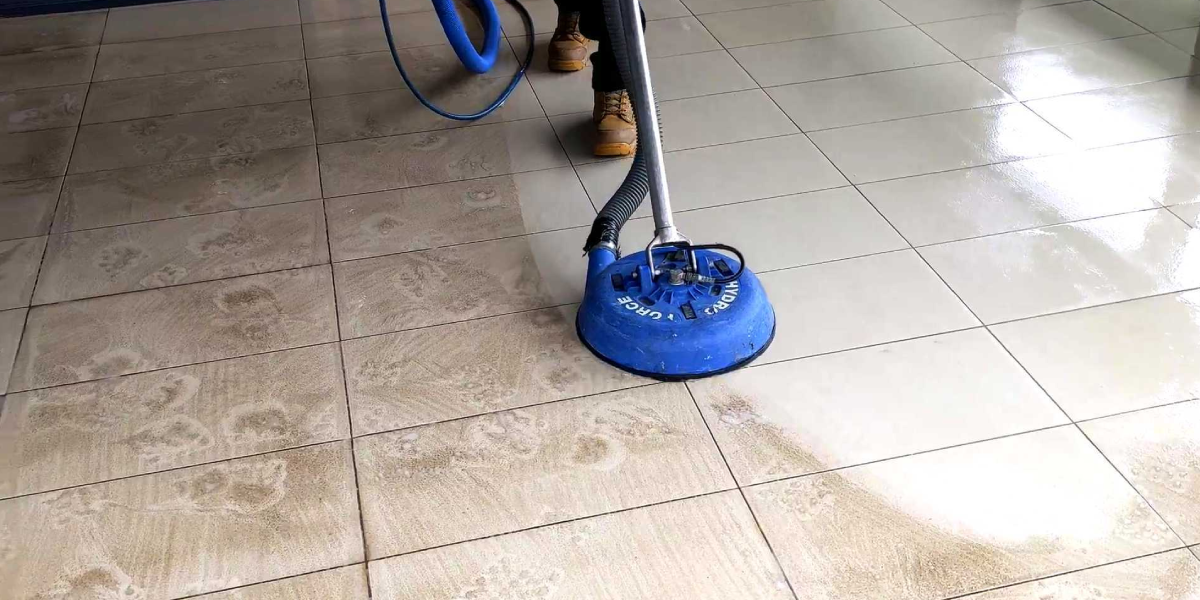
Melbourne’s notorious weather shifts subject residential flooring to unique physical stresses. Winter brings extended periods of rainfall, persistent humidity, and low sunlight, creating ideal breeding conditions for mold spores in damp bathroom corners and algae on outdoor pavers. Meanwhile, indoor heating traps fine dust and grease particulates onto kitchen splashbacks and living area floors.
When spring arrives, rising temperatures cause accumulated dirt and moisture inside unsealed grout capillaries to ferment, causing stubborn discoloration, sour odours, and degraded indoor air quality.
Key Benefits of Following a Tile & Grout Spring Clean Checklist
Executing a structured spring cleaning routine across your home’s hard surfaces provides lasting visual, practical, and financial rewards:
- Restores Aesthetic Brilliance: Instantly brightens living spaces by removing dark, greasy lines between floor tiles.
- Improves Indoor Hygiene: Eliminates hidden dust mites, pet dander, bacteria, and fungal spores trapped in porous grout lines.
- Extends Floor Surface Lifespan: Removes gritty abrasive particles that cause surface micro-scratching on glazed porcelain or polished marble.
- Prevents Costly Structural Repairs: Timely sealing blocks water ingress through grout joints, protecting subfloor timber and waterproofing membranes.
Room-by-Room Tile & Grout Spring Clean Checklist
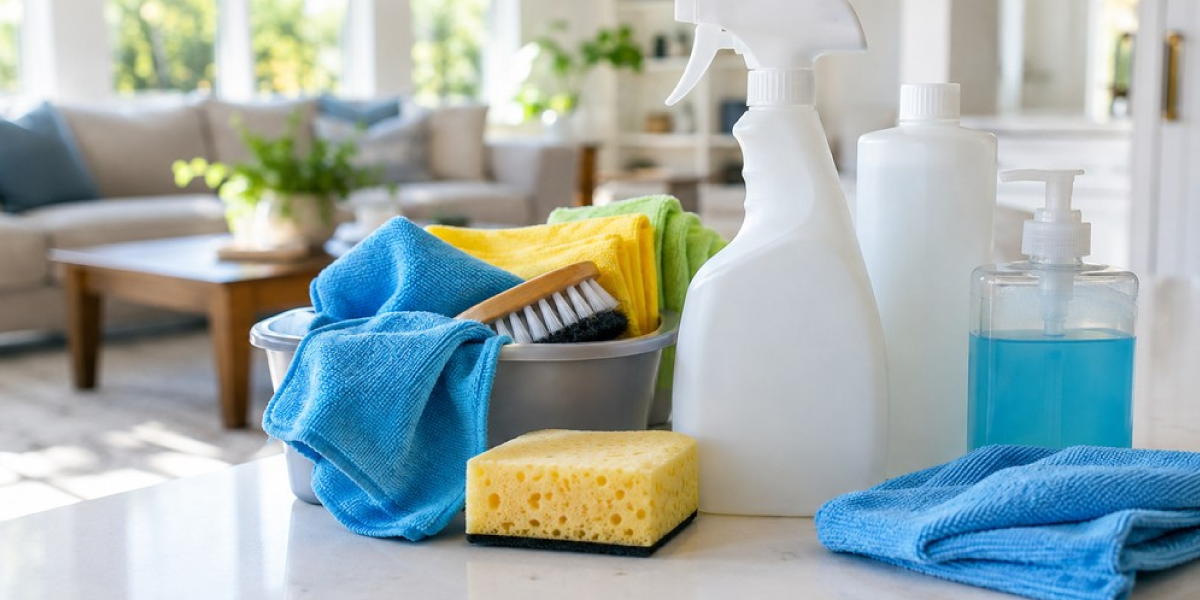
Use this structured checklist to systematically tackle every tiled zone in your Melbourne residence:
| Home Zone | Key Surfaces | Primary Soil / Vulnerability | Recommended Cleaning Method |
|---|---|---|---|
| Kitchen & Dining | Porcelain floor tiles, splashbacks | Cooking oils, grease film, food spills | Heavy-duty alkaline degreaser, nylon scrub, warm rinse |
| Bathroom & Ensuite | Ceramic shower walls, floor tiles | Soap scum, hard water scale, mildew | Alkaline pre-wash, mild tile acid/descaler, grout brush |
| Entryway & Living | Bluestone, Slate, or Travertine | Winter mud, grit, soil abrasion | pH-neutral stone cleaner, soft microfiber mop, impregnator sealer |
| Outdoor Terrace | Sandstone, Terracotta, Pavers | Algae, moss, fallen leaf tannin stains | Oxygenated outdoor bio-cleaner, low-pressure fan wash |
Common Mistakes During Spring Tile Cleaning
Avoid these frequent mistakes that can dull or permanently damage hard surfaces:
- Using Concentrated Bleach on Grout: Chlorine bleach masks mold by whitening it temporarily, but it does not remove root structures or mineral scale. Furthermore, chronic bleach use weakens cement mortar, causing grout to crumble.
- Over-Relying on High-Pressure Washers Indoors or Outdoors: Excessive water pressure strips away jointing sand, gouges soft natural stone (like travertine or sandstone), and damages surrounding timber skirts.
- Scouring Natural Stone with Acidic Cleaners: Vinegar, lemon juice, and harsh descalers chemically etch calcium-based natural stones (marble, limestone, travertine), leaving permanent dull white patches.
- Mopping with Dirty Water: Using a single mop bucket continuously spreads dirty slurry back into open grout pores, making floor grout look darker after drying.
Step-by-Step Process: How to Clean Floor Tiles and Grout
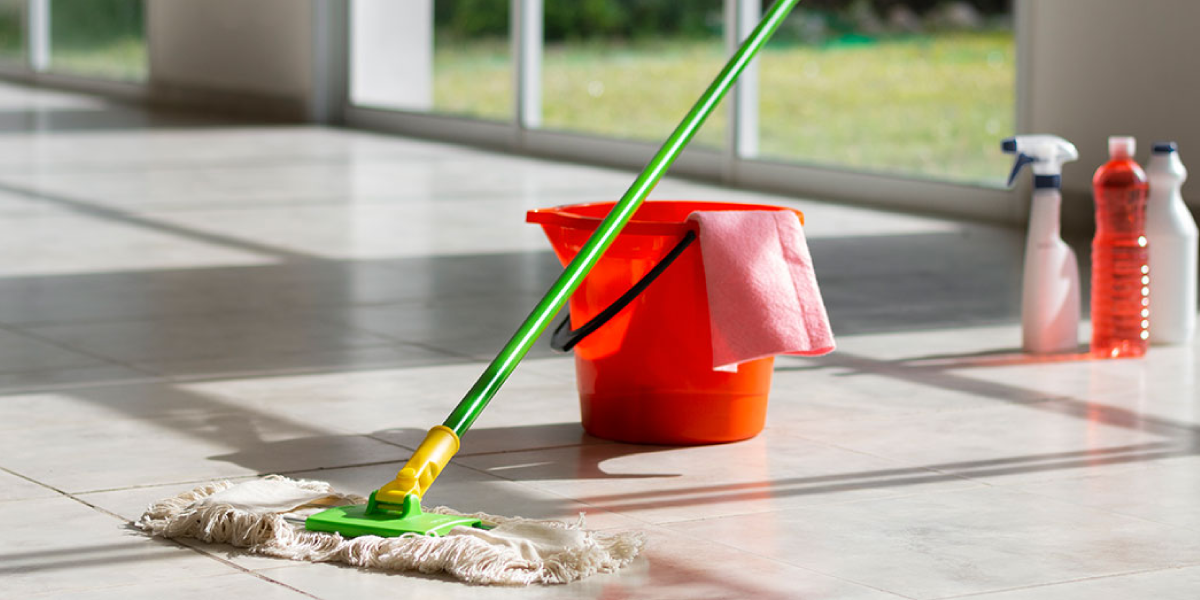
Follow this professional method for high-traffic indoor tile zones:
Step 1: Clear the Floor Area
Remove rugs, furniture, doorstops, and floor plants to ensure unobstructed access across the entire tiled surface.
Step 2: Dry Vacuuming
Vacuum the entire area thoroughly. Pay special attention to baseboards and tile corners where winter dust accumulates.
Step 3: Chemical Application
Mix a professional-grade tile and grout cleaning Melbourne solution (alkaline for ceramic/porcelain, pH-neutral for stone). Apply generously across the surface using a pump sprayer or clean string mop.
Step 4: Dwell Time & Scrubbing
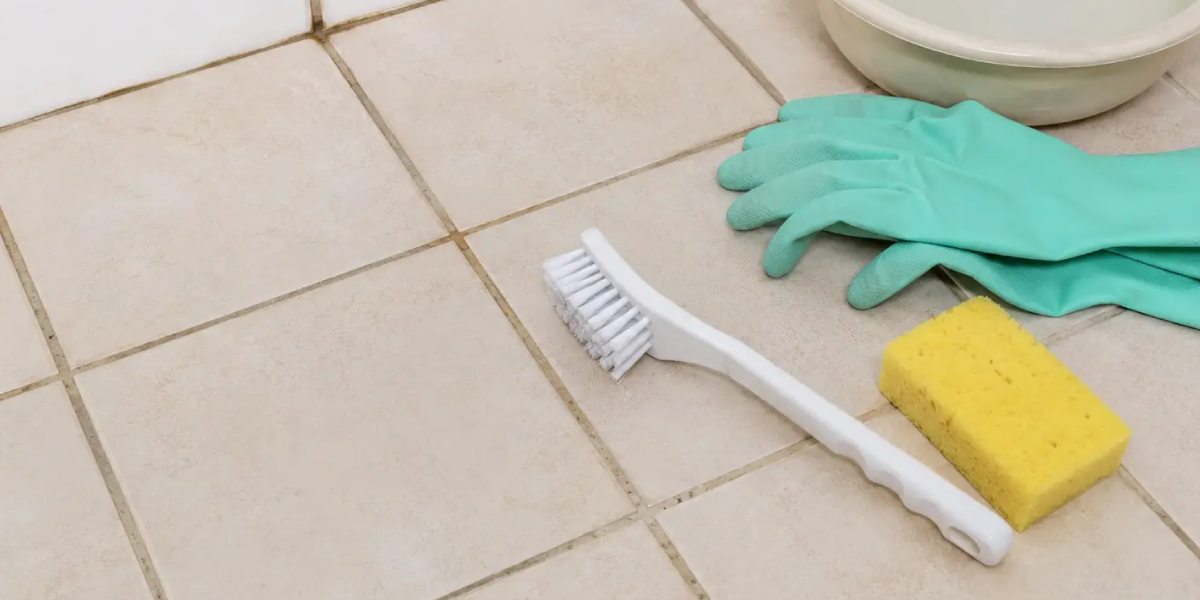
Allow 10–12 minutes dwell time for the detergent to break down stubborn soil. Scrub along grout lines using an angled grout brush or a dual-action deck brush for broad floor areas.
Step 5: Dirty Water Extraction & Clean Water Rinse
Moist slurries must be extracted immediately using a microfibre flat mop or wet-vacuum. Rinse the entire floor with clean, warm water and allow it to dry thoroughly.
Step 6: Penetrating Sealer Application
Inspect grout lines. If grout absorbs water drops rapidly, apply a high-quality penetrating (impregnating) sealer along all joints to lock out future soil and grease.
Real-World Example: Kitchen & Living Area Refresh in Richmond
Case Background: A busy family in a renovated Richmond townhouse noticed their open-plan kitchen and dining area porcelain tiles looked dull, while light gray floor grout had turned dark brown after winter.
The Solution:
- The home was prepared by moving dining furniture and vacuuming dry grit.
- A specialized alkaline degreaser was sprayed across the high-traffic kitchen zones with a 15-minute dwell time.
- Counter-rotating brush machines agitated grout joints without scratching the porcelain tile glaze.
- High-extraction rinse tools flushed away deep-seated cooking fats and soil.
- Once completely dry, a solvent-based fluoropolymer penetrating sealer was applied to all grout lines.
The Result: Original light gray grout lines were fully restored, and the overall kitchen floor regained its bright, clean appearance.
Expert Maintenance Tips to Keep Grout Clean Longer
- Establish a Squeegee Routine: In bathroom showers, wipe down walls with a squeegee after the last daily shower to reduce soap scum buildup.
- Implement Walk-Off Mats: Place high-quality absorbent doormats at all external entrances to catch outdoor mud and winter grit before foot traffic enters living areas.
- Switch Mop Types: Replace traditional string mops (which push dirty water into grout lines) with microfibre flat mop systems that trap dirt mechanically.
- Test Sealer Efficacy Annually: Perform a simple water droplet test during every spring clean. If water darkens grout within 2 minutes, it is time to re-seal.
Frequently Asked Questions (FAQs)
- How do you deep clean tiles and grout during spring cleaning?
To deep clean tiles and grout during spring cleaning, start by dry vacuuming all debris. Apply a targeted cleaning solution (alkaline for porcelain/ceramic, pH-neutral for stone), allow 10–15 minutes dwell time, scrub grout lines with a stiff-nylon grout brush, extract the dirty slurry immediately, rinse with clean warm water, and finish with a penetrating sealer once dry. - What is the best way to remove dirt from tile grout?
The best way to remove dirt from tile grout is using an alkaline tile and grout cleaner combined with mechanical agitation from an angled grout brush. The alkaline solution breaks down grease and organic soil, allowing the brush bristles to lift embedded dirt from porous mortar capillaries without eroding the joint. - How often should tiles and grout be professionally cleaned?
Tiles and grout should be professionally cleaned every 12 to 18 months for typical residential homes. High-traffic areas, homes with indoor pets, or bathrooms with heavy shower usage benefit from annual professional deep cleaning and re-sealing to maintain hygiene and prevent moisture damage. - Which cleaning products are safe for bathroom tiles and grout?
Safe cleaning products for ceramic and porcelain bathroom tiles include pH-neutral stone cleaners, diluted alkaline detergents, and buffered mild acidic scale removers. For natural stone tiles (marble, travertine, bluestone), ONLY use pH-neutral cleaners and non-acidic chelating agents to avoid irreversible chemical etching. - How do you keep tile grout clean for longer?
To keep tile grout clean for longer, apply a high-quality penetrating (impregnating) sealer after deep cleaning. Additionally, vacuum floors regularly before mopping, use microfibre mops instead of cotton string mops, squeegee shower walls after use, and avoid washing floors with dirty rinse water.
Conclusion
Completing a comprehensive Spring Clean Checklist for Melbourne Homes: is the ultimate way to shake off winter grime and restore the natural beauty of your living spaces. By understanding room-specific soil challenges, choosing pH-appropriate cleaning solutions, and protecting porous mortar lines with penetrating sealers, you ensure your floor and wall surfaces remain pristine, hygienic, and vibrant all year round. If deep-seated grout stains, mineral scale, or delicate natural stone surfaces require expert care, trust professional restoration technicians to deliver outstanding results safely. Ready to give your home a fresh spring start? Contact Tile Cleaners Melbourne today for expert tile and grout cleaning, professional stone restoration, and long-lasting sealing services across Melbourne.

Leave A Comment