
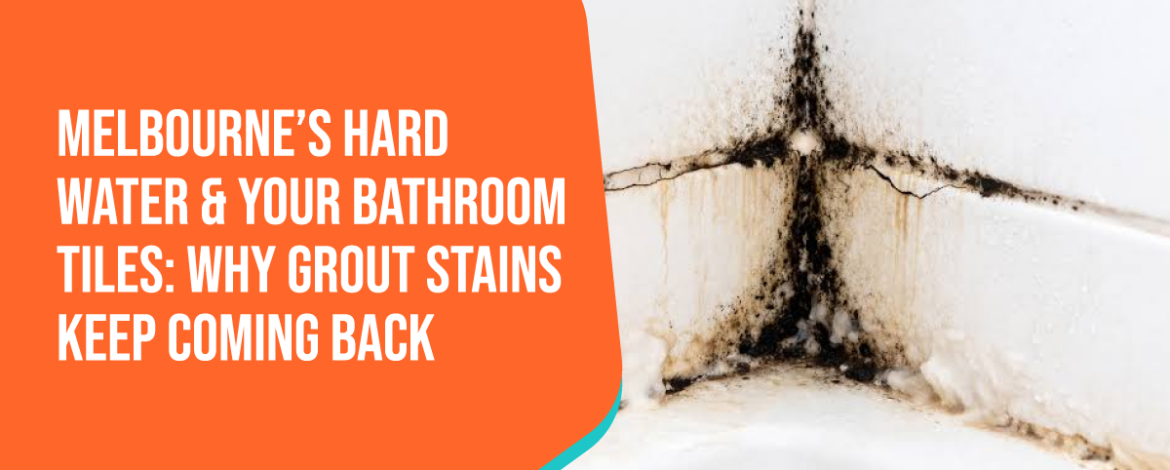
You spent hours scrubbing your shower with heavy-duty bathroom cleaners, bleach, and a stiff brush. For a day or two, your shower recess looks spotless. But within a week or two, those familiar orange, chalky white, or dull dark lines reappear along the floor joints and lower wall tiles. If this scenario sounds frustratingly familiar, the culprit isn’t your cleaning routine—it is the subtle interplay between Melbourne’s Hard Water & Your Bathroom Tiles.
While Melbourne’s tap water is celebrated nationally for its pristine quality from protected Yarra Valley reservoirs, localized groundwater extraction, aging copper or galvanized pipework, municipal mineral additions, and micro-zone mineral content lead to varying levels of dissolved calcium, magnesium, iron, and silica. When combined with soap scum and unsealed, porous mortar joints, these dissolved minerals create persistent scale deposits that lock deeply into your grout.
In this comprehensive guide, we examine the chemistry behind mineral scale accumulation, why standard household cleaners fail, step-by-step removal protocols, and long-term protection strategies to ensure your bathroom surfaces stay pristine.
Quick Answer
What Are Hard Water Stains on Bathroom Tiles and Grout?
Hard water stains on bathroom tiles and grout are mineral scale deposits (primarily calcium carbonate, magnesium, iron oxide, and silica) left behind when tap water evaporates on surfaces. Because tile grout is cementitious and porous, dissolved minerals wick into capillaries, bonding with body fats and soap scum to form persistent discoloration.
Quick Step-by-Step Summary: How to Remove Hard Water Stains from Grout
- Dry Preparation: Sweep and dry-wipe tiles to remove loose dust and soap film.
- Apply a Mild Acidic or Specialty Chelating Cleaner: Spray a specialized mineral scale remover or mild organic acid solution (such as phosphoric or sulfamic acid designed for tiles).
- Dwell and Agitate: Allow the solution to dwell for 5–10 minutes to dissolve mineral bonds, then scrub grout lines with a stiff nylon brush.
- Rinse and Extract: Flush away suspended mineral slurry immediately using fresh warm water or a wet-dry vacuum.
- Treat Stubborn Spots: Apply a non-abrasive poultice paste for deep-seated iron rust or silica stains.
- Apply a Quality Penetrating Grout Sealer: Once dry (24–48 hours), apply a high-performance impregnating sealer to block tile pores against future mineral absorption.
Understanding Mineral Buildup on Tile & Grout
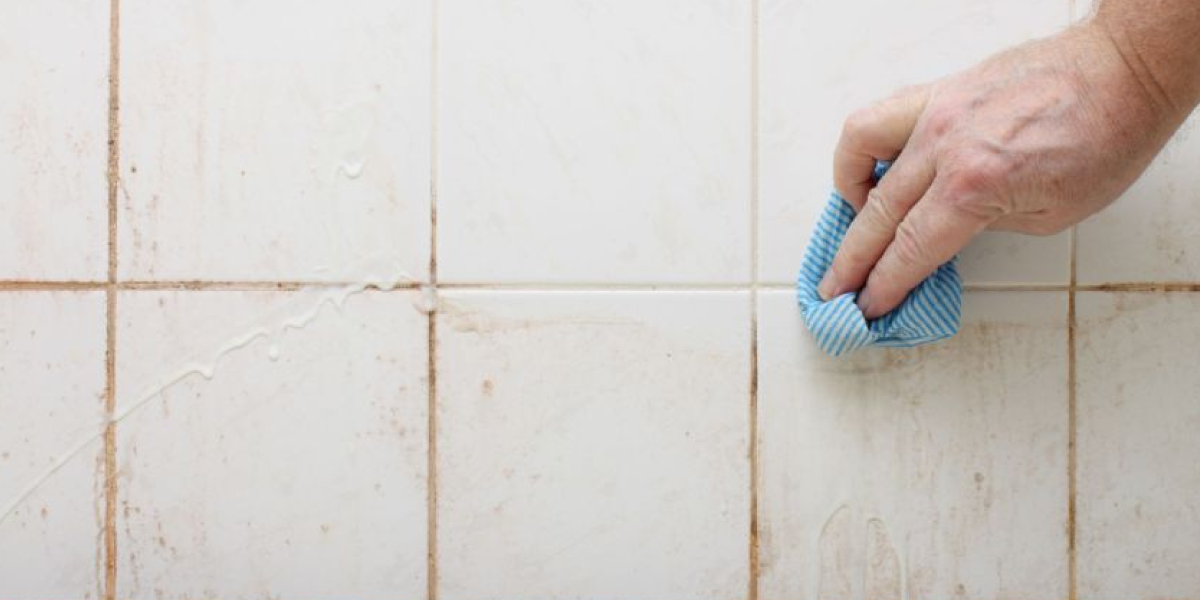
The Science Behind Water Mineralization and Porous Mortar
Tap water carries dissolved inorganic minerals. Every time you shower, mineral-laden water coats your shower walls and floor tiles. As moisture evaporates in humid bathroom environments, solid mineral crystals precipitate out of liquid suspension and cling to hard surfaces.
Glazed ceramic and vitrified porcelain tiles feature a non-porous silica surface, making mineral scale relatively easy to wipe off. Cementitious grout, however, acts like a dense sponge. Its microscopic capillary network draws in mineralized water. As the water evaporates from within these pores, mineral crystals expand inside the grout matrix, anchoring stains deep below the surface where surface wipers cannot reach.
Key Benefits of Eliminating Hard Water Scale Promptly
Addressing mineral scale and grout discoloration provides significant functional and visual advantages:
- Restores Bathroom Hygiene: Eliminates rough scale deposits that trap skin flakes, hair care residues, and mildew spores.
- Prevents Permanent Grout Degradation: Stops expanding salt and calcium crystals from micro-fracturing cement mortar lines over time.
- Reduces Cleaning Frequency: Smoother, sealed grout lines repel water droplets, reducing weekly maintenance efforts.
- Protects Property Value: Maintains pristine shower recesses and vanity backsplashes, preserving home resale value across Melbourne properties.
Hard Water Mineral Types & Cleaning Compatibility
Different minerals present distinct visual signatures and react differently to cleaning agents:
| Mineral Deposit | Visual Appearance | Primary Cause | Effective Chemical Treatment |
|---|---|---|---|
| Calcium Carbonate | Chalky white or hazy gray film | Dissolved limestone/calcite in water | Phosphoric acid / Sulfamic tile cleaner |
| Magnesium Scale | Dull white, hard crust | Dissolved magnesium salts | Chelating agent / Mild acidic descaler |
| Iron / Rust Stains | Orange, reddish-brown streaks | Iron in water or corrosion from pipework | Oxalic acid / Specialty iron stain remover |
| Soap Scum Combination | Waxy, slippery yellow-brown layer | Calcium combining with paraffin-based soaps | Alkaline degreaser followed by acid descaler |
| Silica Scale | Glass-like, hard white crust | High dissolved silica content | Heavy-duty professional chelating compound |
Common Mistakes When Dealing with Hard Water Stains
Homeowners often unknowingly exacerbate tile and grout damage by using incorrect products or tools:
- Relying Exclusively on Chlorine Bleach: Bleach sanitizes mold spores and whitens organic discoloration temporary, but it does not dissolve mineral scale. Calcium deposits remain untouched beneath the bleached surface, quickly re-trapping dirt.
- Using Concentrated Hydrochloric (Muriatic) Acid: Industrial acids dissolve calcium rapidly, but they also eat away cementitious grout mortar, causing pitting, crumble, and structural waterproofing failure.
- Scouring Natural Stone Tiles with Vinegar: Using acidic vinegar or lemon juice on calcium-based natural stones (such as marble, travertine, or limestone) causes permanent etching and surface dullness.
- Neglecting Grout Sealing After Cleaning: Deep cleaning strips away old sealers. Leaving grout raw and unsealed ensures new mineral deposits will absorb twice as fast.
Step-by-Step Process: How to Clean Grout in Bathroom Recesses
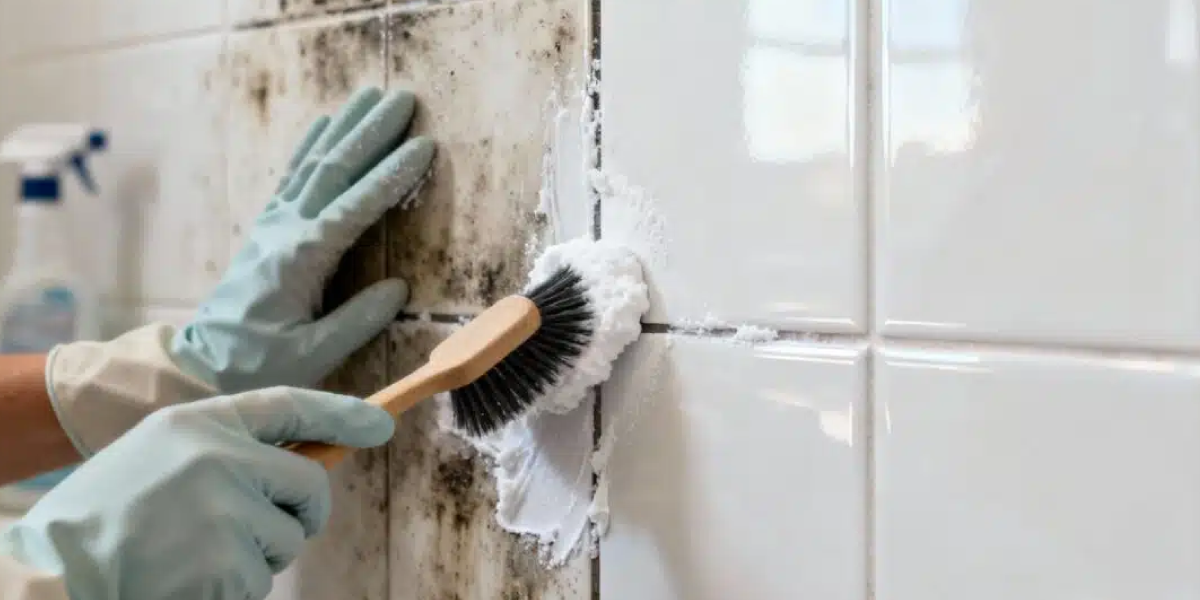
Follow this professional method to safely remove hard water stains from tiles and grout lines without causing structural mortar breakdown.
Step 1: Pre-Clean Surface Soap Scum
Before tackling mineral deposits, wash away oily body fats and soap residue using a mild alkaline bathroom cleaner or dish soap with warm water. Rinse thoroughly.
Step 2: Select and Apply a Suitable Descaler
- For Ceramic & Porcelain Tiles: Apply a specialist phosphoric or sulfamic acid tile descaling cleaner.
- For Natural Stone (Marble/Travertine): NEVER use acids. Use a pH-neutral chelating cleaner or specialty non-acidic scale remover designed specifically for natural stone.
Step 3: Dwell and Agitate
Allow the solution to dwell on tile surfaces and grout lines for 5 to 10 minutes. Do not allow the chemical to dry out. Scrub grout lines using an angled stiff-nylon grout brush.
Step 4: Rinse and Extract
Flush the area thoroughly with clean warm water to remove dissolved minerals and chemical residue. Vacuum up standing dirty water with a wet-dry vacuum or wipe clean with microfibre towels.
Step 5: Address Deep Iron or Silica Spots
For stubborn orange rust marks, apply an oxalic acid-based poultice. Let the paste draw out the iron oxidation overnight before rinsing.
Step 6: Apply a Penetrating Grout Sealer
Allow the bathroom to dry completely for 24 to 48 hours with proper ventilation. Apply a high-grade penetrating (impregnating) grout sealer along all grout lines. The sealer fills microscopic pores, preventing future mineral water absorption.
Real-World Example: Shower Recess Restoration in South Yarra
Case Background: A homeowner in South Yarra noticed that their master shower floor grout consistently turned chalky orange-white within two weeks of deep cleaning, despite using standard bathroom spray.
The Solution:
- Professional diagnosis revealed a combination of calcium scale buildup and iron oxidation from internal copper pipework.
- The team pre-cleaned soap scum using an alkaline detergent, followed by a controlled application of a buffered sulfamic descaling cleaner.
- Rotary floor tools agitated grout joints without scratching glazed porcelain tiles.
- After thorough rinsing and 48 hours of mechanical drying, a dual-action fluoropolymer penetrating sealer was applied to grout lines.
The Result: The original charcoal grout color was restored. Subsequent water droplet testing showed complete water repellency, preventing mineral scale re-absorption.
Best Practices & Pro Tips for Long-Term Prevention
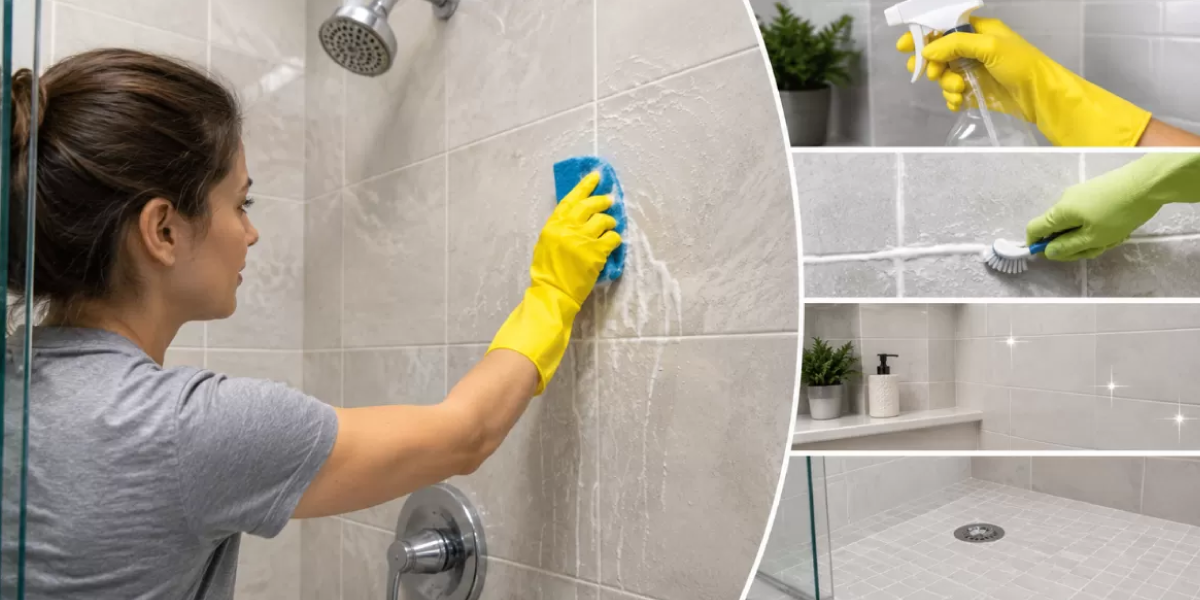
To keep hard water tile cleaning needs to a minimum, implement these simple preventative habits:
- Squeegee After Every Shower: Use a flexible rubber squeegee to remove excess water drops from tiles and glass panels after showering.
- Improve Bathroom Ventilation: Run an exhaust fan for 20–30 minutes post-shower to speed up evaporation and minimize humidity.
- Switch to Liquid Body Wash: Synthetic liquid body washes produce significantly less insoluble soap scum compared to traditional tallow-based bar soaps.
- Re-Apply Sealer Annually: Test sealer efficacy by spraying water onto grout. If water darkens the grout line, re-apply a quality penetrating sealer.
Frequently Asked Questions (FAQs)
Why do grout stains keep coming back?
Grout stains keep coming back because cement grout is inherently porous. When hard water dries inside grout capillaries, dissolved mineral salts remain behind. Unless grout is deeply sealed with an impregnating sealer, new shower water repeatedly deposits minerals and soap scum into the microscopic pores.
Does hard water cause stains on bathroom tiles?
Yes, hard water causes stains on bathroom tiles. When tap water containing dissolved calcium, magnesium, iron, or silica evaporates on tile surfaces and grout joints, it leaves behind stubborn chalky white, gray, or orange mineral scale.
How do you remove hard water stains from grout?
To remove hard water stains from grout, pre-clean soap scum with an alkaline cleaner, then apply a specialized tile descaler or mild acid (for ceramic/porcelain) or a non-acidic chelating cleaner (for natural stone). Agitate with a stiff nylon brush, rinse thoroughly, and apply a penetrating sealer once dry.
What is the best way to clean bathroom grout?
The best way to clean bathroom grout is using a targeted chemical approach matched to the stain type—alkaline cleaners for grease/soap scum and buffered acidic descalers for mineral hard water spots—combined with a dedicated grout brush and immediate slurry extraction.
How can you prevent hard water stains from returning?
You can prevent hard water stains from returning by applying a high-quality penetrating (impregnating) grout sealer, squeegeeing tiles after every shower, switching from bar soap to liquid body wash, and ensuring adequate exhaust fan ventilation.
Conclusion
Understanding the chemical link between Melbourne’s Hard Water & Your Bathroom Tiles is the key to breaking the endless cycle of scrubbing and restaining. Standard bleach and superficial surface wiping cannot dissolve mineral scale trapped inside porous grout mortar. By combining targeted descaling treatments with high-performance penetrating sealers, you can permanently protect your bathroom surfaces against mineral absorption and restore lasting brilliance to your home. If stubborn hard water scale, discolored grout lines, or delicate stone tiles require professional attention, trust experienced surface restoration specialists. Tired of fighting persistent grout stains? Contact Tile Cleaners Melbourne today for expert tile descaling, professional grout cleaning, deep stain removal, and premium penetrating sealing services across Melbourne.

Leave A Comment