
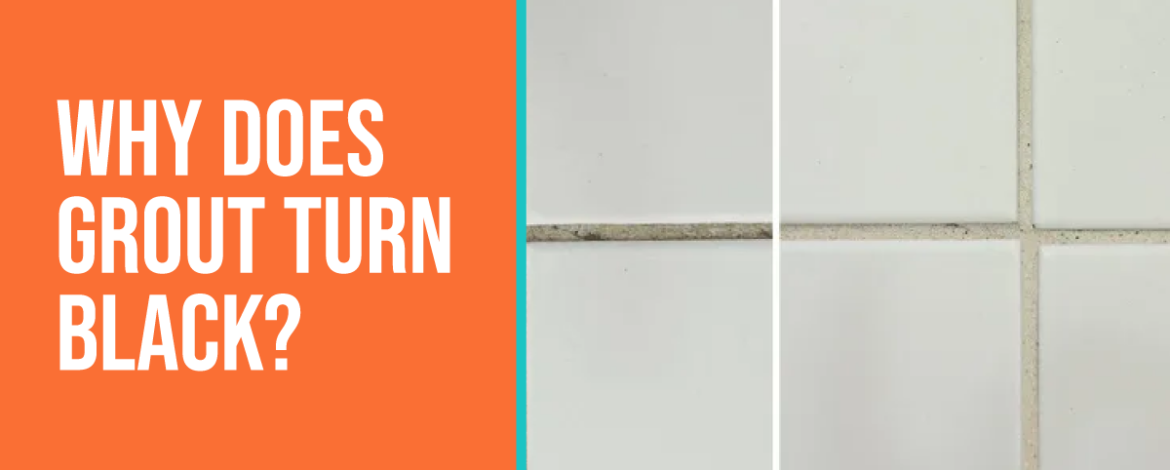
Few things ruin the look of a beautifully tiled bathroom or kitchen faster than dark, unsightly stains along your tile lines. You scrub the tiles until they shine, yet the graying, spotted borders make the entire space feel unclean.
If you are dealing with black grout, you are not alone. Grout is inherently prone to deep discoloration, turning from a clean, bright neutral into a dark, patchy mess over time. The good news is that black grout is rarely a permanent sentence for your tilework.
In this comprehensive guide, we will break down why grout turns black, how to identify whether you are dealing with surface dirt or invasive mold, step-by-step restoration methods, and proven preventative care strategies to keep your tile lines looking pristine.
What Is Black Grout Discoloration?
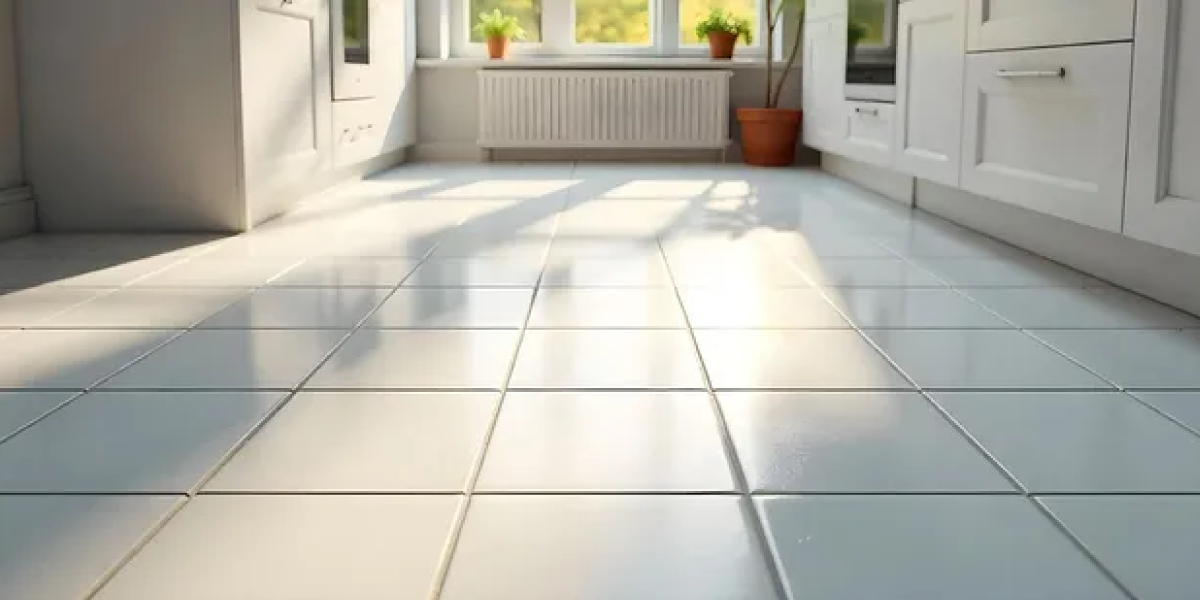
When we talk about black grout, we are referring to cement-based or epoxy tile joint mortar that has lost its original color due to organic growth, trapped particulate matter, or chemical reactions.
Because standard tile grout is porous, it acts much like a dense sponge. It features millions of microscopic voids that pull in liquids, oils, and airborne particles. Over time, these trapped substances accumulate beneath the surface layer, causing the grout to darken progressively from light gray or tan to a stark, uniform, or blotchy black.
The Porous Grout Matrix
| Component | Physical State | Process / Action | Resulting Impact |
| Surrounding Tile | Non-porous surface | Directs water, soap, and spills toward joints | Keeps tile faces clean while channeling debris into gaps |
| Cement Grout Joint | Porous matrix (micro-voids) | Absorbs moisture, body wash, skin oils, and airborne spores | Traps dirt and organic growth deep beneath the surface |
| Trapped Contaminants | Moisture & organic matter | Accumulates and feeds fungal growth over time | Turns bright tile lines dark gray or blotchy black |
Why Grout Discoloration Matters
Ignoring darkened tile joints is more than just a cosmetic oversight. Addressing grout health early impacts both your home’s hygiene and structural integrity.
- Health and Air Quality: Dark spots in damp areas like shower stalls are frequently colonies of active fungi, such as Stachybotrys chartarum (black mold) or Aspergillus. These organisms release spores and volatile organic compounds (VOCs) that can trigger respiratory issues, allergies, and skin irritation.
- Structural Material Integrity: Mold and mildew feed on organic residue trapped within the grout pores. As colonies expand, they can break down the binder materials inside cementitious grout, causing it to crumble, crack, and lose its water-resistant bond.
- Escalating Restoration Costs: Surface dirt is easy to scrub away, but neglected fungal growth and structural decay can penetrate behind the tile face, leading to water intrusion, rotted drywall or subflooring, and costly tile replacement projects.
What Causes Grout to Turn Black?
Understanding the precise root cause of your dirty grout dictates the exact restoration method you should use. Darkening typically stems from three primary culprits:
Primary Causes of Black Grout
| Root Cause | Primary Culprits | Common Locations | Mechanism |
| 1. Fungal Growth | Mold (Aspergillus, black mold), Mildew | Showers, tubs, high-humidity rooms | Spores settle into wet grout pores and feed on lingering body oils and humidity. |
| 2. Dirt & Soap Scum | Body wash fats, shampoo oils, dirty mop water | Kitchen floors, entryways, shower bases | Oily films attract dust and foot grime, forming a dark, greasy surface layer. |
| 3. Chemical Reactions | Deteriorated acrylic sealers, unrinsed harsh cleaners | Aged tile installations, frequently cleaned floors | Degraded sealers turn yellow-brown/black; harsh chemicals react with grout minerals. |
Quick Guide to Restoring Black Grout
What Causes Black Grout?
Black grout is primarily caused by grout mould (Aspergillus or black mold species) feeding on moisture and organic residues, or by an accumulation of trapped dirt, body oils, and soap scum inside the porous cement matrix.
Quick Restoration Options Summary
| Method | Best Used For | Key Advantage | Skill Level |
| Baking Soda & Oxygen Bleach | Mild surface dirt, light mold | Non-toxic, safe for natural stone | Beginner |
| Deep Steam Extraction | Embedded dirt, sanitizing shower stalls | Zero chemicals, lifts deep grime | Intermediate |
| Targeted Antimicrobial Treatments | Heavy black mold growth | Destroys spores at the root | Beginner |
| Color Sealing / Grout Stain | Permanently stained, aged cement | Restores color uniformity completely | Intermediate |
| Grout Removal & Regrouting | Crumbled, structural grout failure | Total reset of tile joint system | Advanced |
Step-by-Step Process for Grout Restoration
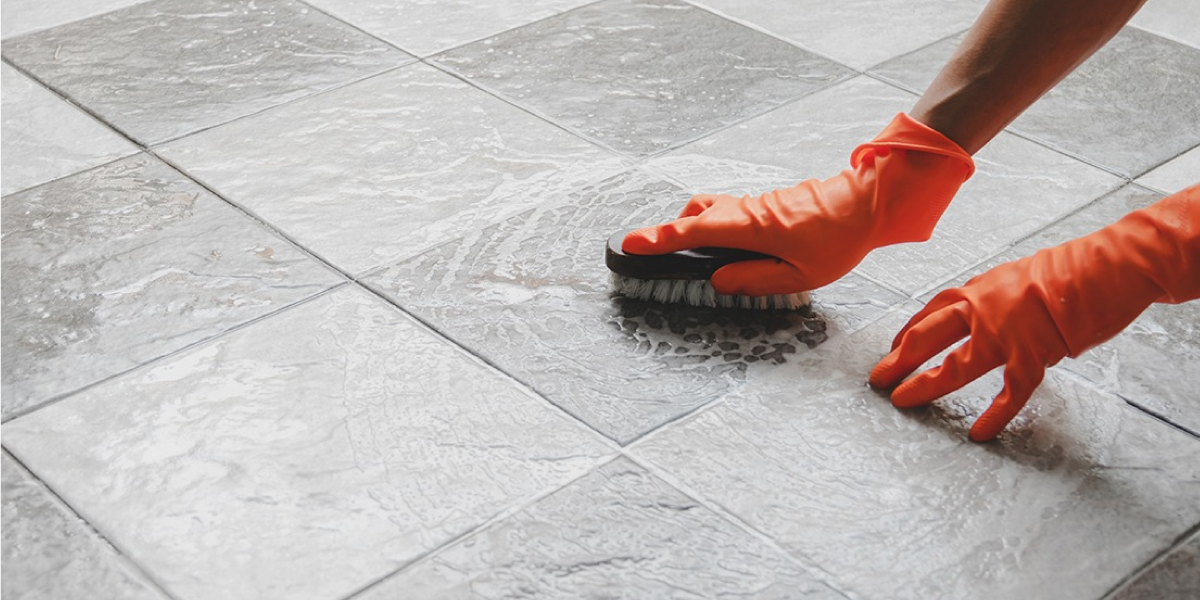
Restoring discolored grout lines requires a methodical approach. Start with the gentlest cleaning method and escalate to stronger chemical or physical treatments only if necessary.
Grout Restoration Sequence
| Phase | Action | Primary Objective | Key Tools / Materials |
| Step 1 | Deep Surface Scrubbing | Lift surface grease, dust, and light discoloration | Baking soda, oxygen bleach, stiff nylon brush |
| Step 2 | Targeted Mold Remediation | Kill embedded fungal roots inside the grout pores | Specialized tile-safe antimicrobial cleaner |
| Step 3 | Deep Steam Extraction | Melt hardened soap scum and sanitize without chemicals | High-temperature steam extractor ($200^\circ\text{F}+$) |
| Step 4 | Color Restoration | Unify permanently stained or faded grout lines | Epoxy-based grout colorant / stain |
| Step 5 | Penetrating Sealer Application | Lock out future moisture, oils, and mold spores | High-grade fluoropolymer penetrating sealer |
Step 1: Deep Surface Cleaning (Baking Soda & Oxygen Bleach)
- Mix the Paste: Combine 1/2 cup of baking soda with 1/2 cup of powdered oxygen bleach (sodium percarbonate). Add warm water slowly until it forms a thick, spreadable paste.
- Apply Generously: Spread the paste directly over the dark tile joints using a stiff-bristle grout brush or an old toothbrush.
- Allow Dwell Time: Let the mixture sit for 15 to 20 minutes. Oxygen bleach breaks down organic stains and lifts dirt without releasing harsh chemical fumes.
- Agitate and Rinse: Scrub firmly along the grout lines in small circular motions. Wipe away the slurry with a clean micro-fiber cloth and rinse thoroughly with warm water.
Step 2: Targeted Antimicrobial Mold Remediation
If dark spots persist after scrubbing, active fungal hyphae may be anchored deep within the pores.
- Apply an antimicrobial, specialized mold-and-mildew cleaner formulated specifically for tile joints.
- Allow the product to sit for the full manufacturer-recommended dwell time (usually 5 to 10 minutes) so the active ingredients can penetrate beneath the surface.
- Agitate with a stiff nylon brush, then wipe completely clean with fresh water.
Step 3: Deep Steam Extraction
For stubborn grime that chemical scrubbing leaves behind, high-temperature steam is the ultimate deep-cleaning solution.
- Use a residential or commercial steam cleaner fitted with a narrow grout nozzle attachment.
- Pass the steam jet slowly along the grout line, holding the nozzle about one inch from the surface.
- The combination of heat ($200^\circ\text{F}+$ / $93^\circ\text{C}+$) and pressurized moisture melts away hardened soap oils and vaporizes mold spores instantly.
- Immediately wipe the loosened grime away with a clean towel before it cools and re-settles.
Step 4: Color Restoration and Grout Recoloring (Optional)
If your grout is permanently discolored despite being thoroughly cleaned and sanitized, an epoxy-based grout colorant (grout stain) will restore its appearance.
- Ensure the grout line is entirely clean, dry, and free of oily film.
- Apply the colorant using an applicator brush along the joint line, working in small sections.
- Carefully wipe away excess colorant from the tile faces using a damp micro-fiber towel before it cures.
Step 5: Seal the Grout
Cleaning without sealing leaves porous grout wide open for rapid re-staining.
- Allow the grout to dry completely for at least 24 hours.
- Apply a high-quality fluoropolymer penetrating sealer using a roller applicator or thin brush.
- Let the sealer soak into the grout lines for 10–15 minutes, then wipe off any excess liquid from the surrounding tiles.
- Allow it to cure for 24 to 48 hours before exposing the area to water or heavy foot traffic.
Comparison: Unsealed vs. Sealed Grout State
| Attribute | Unsealed / Dirty Grout (Before) | Sealed / Restored Grout (After) |
| Grout Core | Open porous cement matrix | Microscopic voids filled with fluoropolymer barrier |
| Moisture Response | Readily absorbs water and trapped oils | Repels water droplets on contact (water-beading effect) |
| Stain Susceptibility | High risk for mold growth, dirt, and soap scum | Stains sit on top of seal and wipe off easily |
| Appearance | Dark, blotchy, and patchy | Clean, uniform color throughout tile lines |
Common Mistakes to Avoid During Grout Cleaning
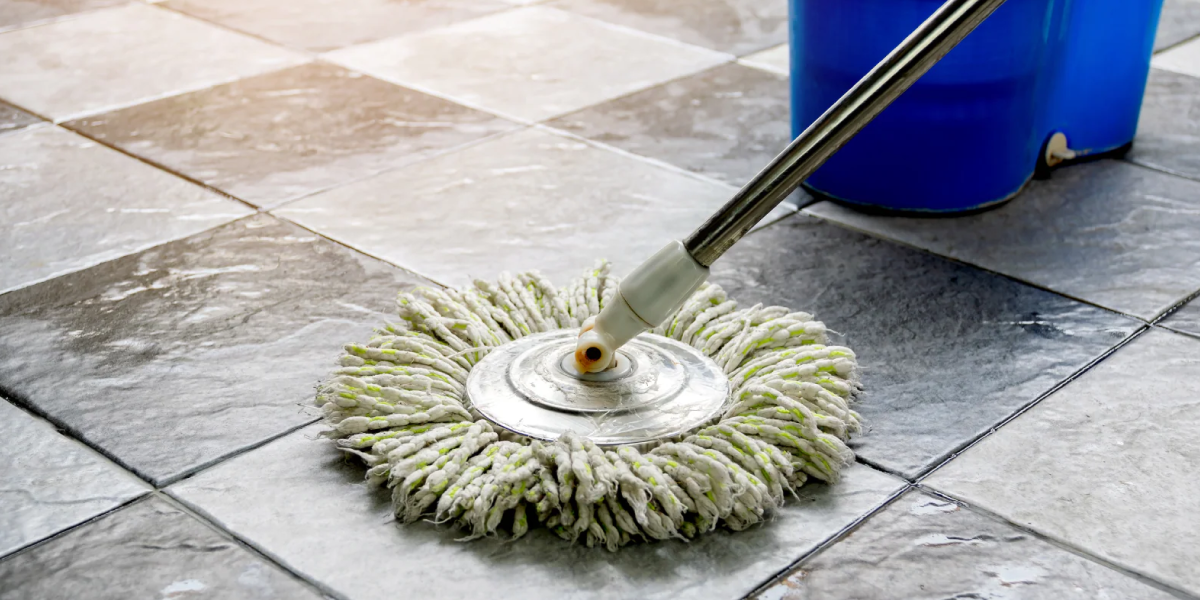
Improper cleaning habits can permanently damage your tile installation, accelerate discoloration, or create health hazards.
- Using Chlorine Bleach Overly Frequently: While household liquid bleach masks black mold by bleaching it clear, it rarely kills the underlying root structure inside porous cement. Worse, chlorine bleach weakens cementitious binders over time, causing grout to break down and crumble.
- Cleaning with Vinegar or Acid on Natural Stone: White vinegar and acid-based cleaners are popular DIY solutions, but acidic formulations erode cement grout and permanently etch natural stone tiles like marble, travertine, and limestone.
- Scrubbing with Wire Brushes or Steel Wool: Abrasive metal brushes tear away the top protective skin of your grout line, leaving wider, rougher pores that trap dirt faster than before.
- Forgetting to Seal After Deep Cleaning: Alkaline cleaners and steam extractors strip away existing protective sealants. Skipping a fresh coat of penetrating sealer leaves the porous cement fully vulnerable to immediate re-contamination.
- Mixing Bleach with Ammonia or Acid Cleaners: Never mix household cleaning agents. Combining bleach with acid or ammonia releases toxic chloramine or chlorine gas.
Best Practices for Long-Term Tile Grout Maintenance
Consistent tile grout maintenance prevents black discoloration from returning. Integrate these simple practices into your household routine:
Preventative Maintenance Schedule
| Frequency | Routine Action | Target Benefit |
| Daily | Squeegee tile walls & run exhaust fan for 20+ min | Eliminates standing surface water and keeps humidity under $50\%$ |
| Weekly | Wipe tile lines with neutral-pH cleaner & micro-fiber cloth | Cleans away surface oils before they harden into soap scum |
| Monthly | Switch to liquid body washes instead of tallow bar soaps | Prevents heavy fatty-acid film from building up along joints |
| Annually | Perform water-drop absorbency test & reapply penetrating sealer | Maintains moisture barrier protection against deep stains |
Real-World Examples: Case Studies in Grout Restoration
Case Study 1: The Master Bathroom Shower Enclosure
- Problem: A homeowner observed dark, patchy black spots spreading across the lower grout lines of a ceramic tile shower. Standard glass cleaners and scrubbing sponges had no effect.
- Diagnosis: High humidity combined with oily body washes created a nutrient-dense environment for grout mould inside unsealed, porous grout.
- Solution: The area was treated with a professional-grade antimicrobial cleaner allowed to dwell for 15 minutes, followed by high-temperature steam extraction. Once dry, the joints were protected with a penetrating sealer.
- Result: Full color restoration without replacing a single tile, saving thousands compared to a full tear-out.
Case Study 2: High-Traffic Kitchen Floor Lines
- Problem: A family noticed that the light gray grout lines in their kitchen had turned uniformly dark black in front of the sink and stove areas.
- Diagnosis: Repeated mopping with heavily scented detergents left a sticky soap residue on the floor. Kitchen grease and dirt settled into this film, creating a dark coating over the grout lines.
- Solution: An alkaline degreaser was applied and agitated with an electric grout brush, lifting the suspended oils. The slurry was rinsed clean, restoring the floor’s original light-gray color.
Frequently Asked Questions (FAQs)
Why does grout become black?
Grout turns black primarily due to two factors: fungal growth (black mold and mildew) or accumulated organic dirt. Because cementitious grout is naturally porous, it readily absorbs water, body wash oils, and dirty mop water, creating ideal conditions for deep-seated stains and surface mold colonies.
Can black grout be restored?
Yes, in the vast majority of cases, black grout can be fully restored. Depending on the severity of the discoloration, you can restore your grout lines through targeted deep cleaning, antimicrobial mold treatment, high-heat steam extraction, or by applying a specialized epoxy grout colorant over permanent stains.
Is black grout caused by mould?
In high-moisture environments like showers, bathtubs, and wet rooms, black grout is almost always caused by fungal growth (grout mould). However, in dry locations or on high-traffic kitchen floors, the black appearance is more commonly caused by trapped dirt, cooking oils, and leftover detergent residue.
Can bleach permanently clean grout?
No, liquid chlorine bleach does not provide a permanent cleaning solution for porous grout. While bleach can temporarily lighten organic stains, it leaves the deep fungal roots intact inside the grout matrix. Furthermore, frequent use of harsh bleach can erode cementitious binders, causing grout to weaken, crack, and crumble over time.
How do professionals restore grout?
Professional tile and grout specialists use a multi-step process:
- They apply industrial-grade alkaline degreasers or target antimicrobials to break down oils and organic matter.
- They use truck-mounted or heavy-duty commercial steam extractors (200°F + water at high pressure) to lift embedded dirt without damaging surrounding tiles.
- They repair damaged or missing tile joints where necessary.
- They apply a durable penetrating seal or an color-sealer to protect the restored grout from future stains and moisture intrusion.
Restoring Your Tile Joints for Good
Dealing with black grout can feel frustrating, but dark tile joints do not mean your entire bathroom or floor installation is ruined. By identifying whether your discoloration is caused by surface grease, soap build-up, or active mold growth, you can apply the right combination of gentle deep-cleaning agents, targeted heat, and high-quality protective sealers.
Remember, effective grout restoration is a two-step commitment: removing embedded contaminants and applying a quality seal to protect against future moisture penetration. Taking time to properly clean, dry, and seal your tile joints protects your property’s value and ensures your home stays healthy, fresh, and beautiful.
Are your tile lines ready for a fresh start? Try the non-toxic oxygen bleach treatment today, or consult a professional tile restoration specialist to bring your surfaces back to life.
Bring Your Tiles Back to Life
Professional tile & grout cleaning, sealing and stone restoration across Melbourne.

Leave A Comment